Today, many women struggle with weak, brittle nails due to chemical exposure. Nails may break easily or not grow as desired. Acrylic nails were created to solve this problem. But what exactly are acrylic nails?
What are acrylic nails?
Acrylic nails are artificial nails made by combining a liquid (monomer) and a powder (polymer) to form a hard, durable plastic. Unlike gel nails, they don’t require curing under a light.
The process starts with cleaning and trimming your natural nails. A nail tip is then attached if you want longer nails.
The nail technician uses a brush dipped in the liquid monomer and mixes it with the powder to form a small bead. This bead is applied to your nails to create a smooth, blended surface.
Polymers in the powder add color (pink, white, or clear) and prevent yellowing. Once applied, the acrylic hardens as it air-dries.
If done well, the result is smooth and flawless. The final step is polishing and adding nail art if desired. However, poorly applied acrylics can look uneven or bulky.
How Acrylic Nails Compare to Gel and Natural Nails
Women love to look good, and that’s why businesses create so many products to meet their needs. From bags and shoes to jewelry and nail accessories, there’s something for everyone in boutiques worldwide.
Nail extensions, also known as false nails or fake nails, are becoming super popular. They’re designed to look like real nails, often with creative designs. These artificial nails are usually made from gel or acrylic.
But what’s the difference between acrylic nails, gel nails, and natural nails? Let’s find out!
Gel Nails
Gel nails and acrylic nails are made from the same materials: monomer and polymer powder. However, gel nails also include oligomers, which make them more flexible.
Gel nails can be cured (hardened) under UV light, called light-cured gel nails. There are also non-light gel nails, which are set using a gel activator, spray, or water.
Gel nails look natural, thin, glossy, and are odorless. However, they are more fragile, don’t polish well, and cost more. If they break, you’ll need a professional to fix them.
Natural nails

Natural nails are made of keratin, a tough protein that grows from the cuticles of fingers and toes.
They protect the sensitive nerves in your fingertips and toes, enhance touch sensitivity, and can even serve as tools for defense. Nails also reflect your overall health.
On average, nails grow about 0.1–0.15 mm per day. Fingernails grow faster than toenails, and the growth rate varies by age, individual, and even season—nails grow quicker in summer than in winter. It takes about 6 months for a nail to grow from the base to the tip.
Acrylic Nails
Acrylic nails are popular fake nails. They’re affordable and easy to apply at home with special glue. Adding designs is simple if you have a creative touch.
People often use acrylic nails to cover damaged or broken nails. They also protect your natural nails from further damage. Their durability makes them great for this purpose.
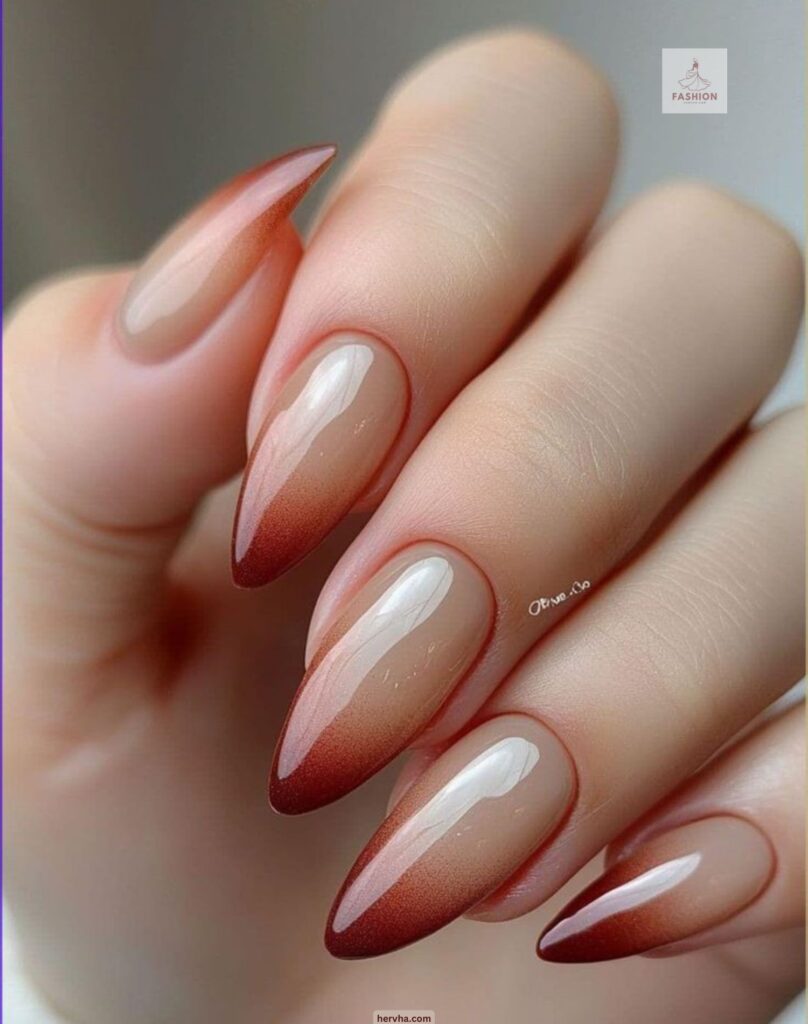
Acrylic nails can also make your nails look stylish. You can polish and decorate them in different shapes like square or round. Wear them long or short, depending on your style!
How Are Acrylic Nails Applied?
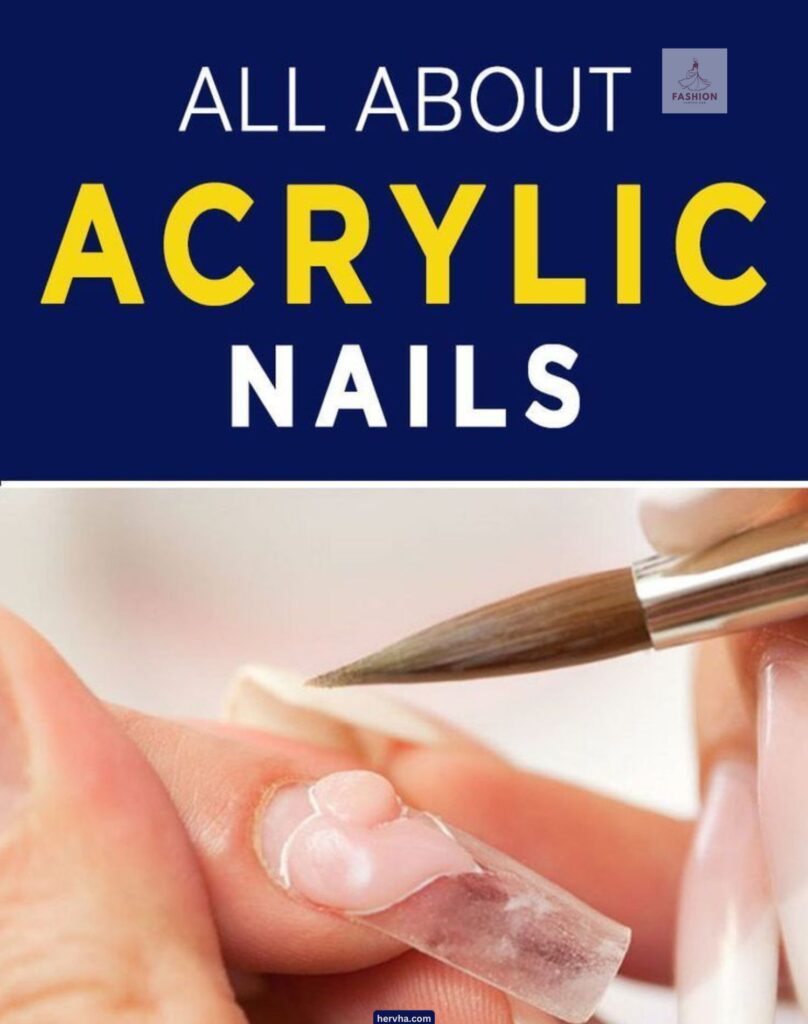
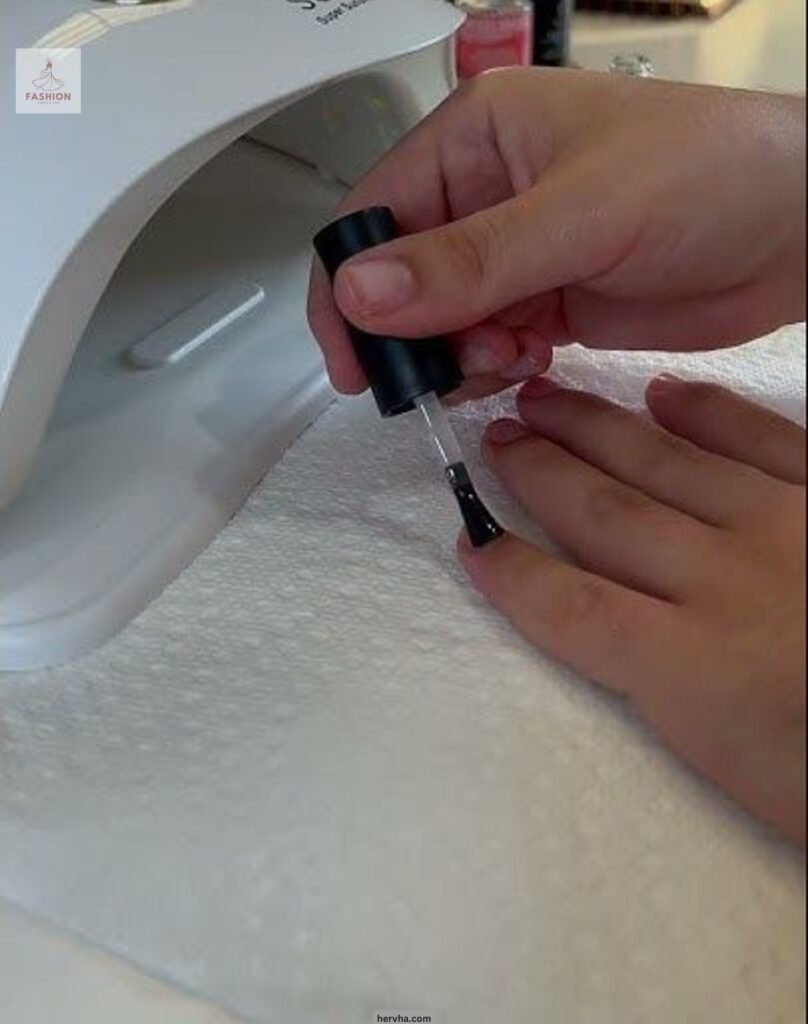
Applying gel or acrylic nails at home isn’t as hard as it seems. If your nails are growing out and the polish is peeling, skip the salon and try it yourself with a manicure kit. Here’s a simple step-by-step guide:
1: Prep Your Nails
- Use a nail buffer to smooth the acrylic where it meets your natural nail.
- Buff until the surface is smooth but avoid filing your natural nail.
2: Apply Primer
- Add 1 to 3 thin coats of primer to the natural nail.
- Let each layer dry completely.
- Be careful not to get primer on your skin—it can irritate.
3: Mix Acrylic
- Dip a brush into acrylic liquid, then into the acrylic powder.
- Repeat 4–5 times to create the right consistency.
4: Apply Acrylic
- Place a small drop of the mixture on your natural nail.
- Spread it evenly over the nail using the brush.
5: Let it Dry
- Allow nails to dry completely (5–20 minutes).
- Avoid touching them while drying.
6: Shape and Smooth
- Use a nail file to shape the edges and smooth the surface.
7: Add Nail Polish
- Apply a base coat, let it dry, then add 1–3 layers of nail polish.
- Finish with a top coat for long-lasting protection.
And that’s it! You can achieve salon-worthy nails at home in under 30 minutes.
How Long Do Acrylic Nails Last?

There’s no exact answer since it depends on how well you care for them and the manicurist’s skill.
Good-quality acrylic and a skilled manicurist can make your nails last longer.
On average, acrylic nails last 10-15 days. With proper care, they can last even longer.
After getting your nails done, follow the care tips your manicurist gives you. This helps your nails stay beautiful for longer.
What’s the Best Way to Remove Acrylics?
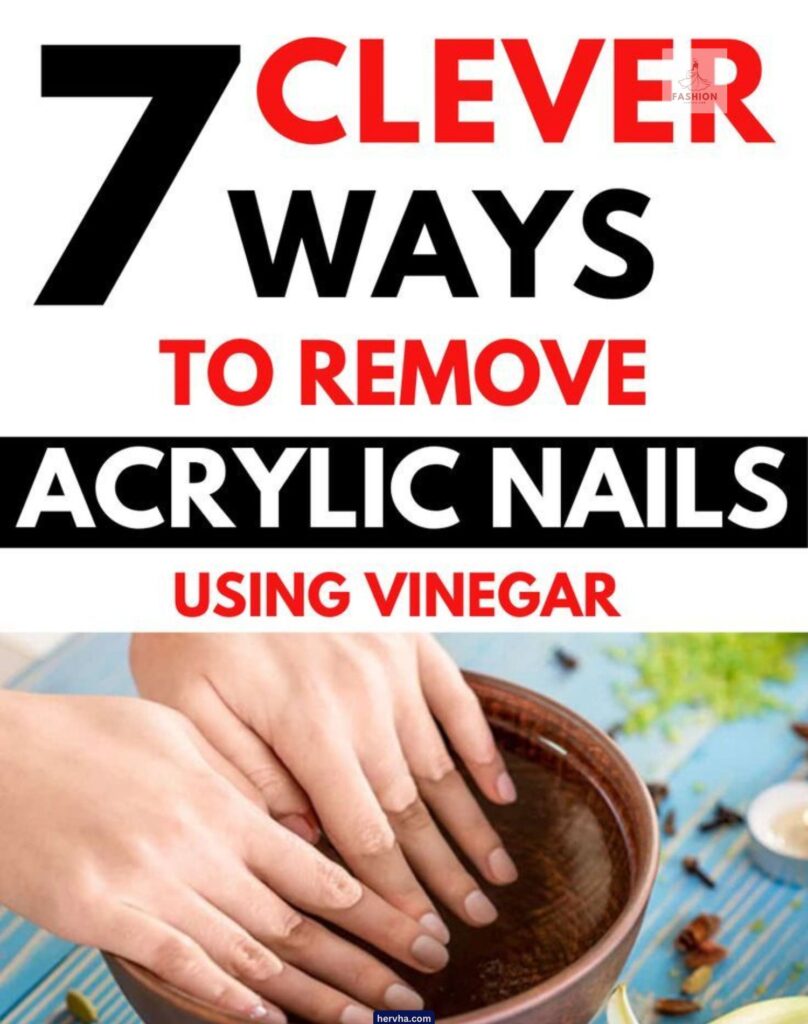
Acrylic nails are loved for their glamorous look, but when they start to peel or thicken, it’s time to remove them. Here’s how you can do it:
- Cut your nails short: Use a nail clipper to trim as much of the acrylic nail as possible. If it’s too thick, use a coarse file.
- File the surface: Use a good nail file to remove the polish from the acrylic. File in long strokes along the nail.
- Soak in acetone: Pour acetone into a bowl. You can warm it slightly by placing it in a larger bowl of warm water. Never heat acetone directly. Make sure the room is well-ventilated.
- Protect your skin: Apply Vaseline around your nails to protect your skin from acetone. Be careful not to cover the nails.
- Soak your nails: Soak cotton balls in acetone and place them on your nails. Wrap your fingers with foil or tape and let them soak for 30 minutes.
- Remove the acrylic: After soaking, the acrylic should come off easily. Use an orange stick to gently pry off any remaining polish. If it’s still tough, soak for another 20 minutes.
- File remaining acrylic: After the acrylic softens, file away any leftover polish with a soft sponge.
- Smooth your nails: Use a clipper and file to shape your natural nails, filing in one direction to avoid damage.
- Moisturize: Wash your hands and apply lotion or oil to restore moisture to your skin, as acetone can dry it out.
Are Acrylic Nails Safe?
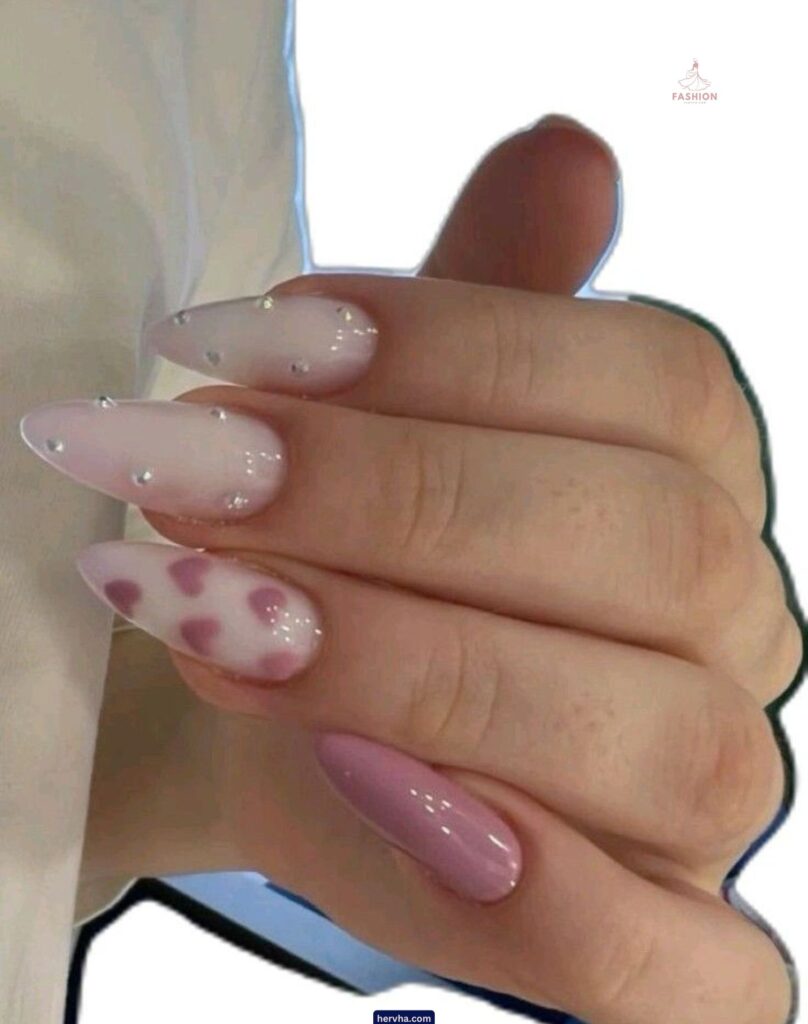
Acrylic nails can make your nails look stylish, but they come with risks. Some people use them to hide weak nails, while others like the trendy look. But, it’s important to know the potential harm they can cause.
Even with proper care, acrylic nails can damage your natural nails. They contain chemicals like ethyl methacrylate, which can cause cracks. These chemicals should be avoided.
Acrylic nails block oxygen, which your natural nails need to stay healthy. Without oxygen, your nails weaken over time. They also make it harder to keep your nails moist.
Acrylic nails are thin and fragile. You have to be careful when doing everyday tasks, like opening a door or washing your hands, or you might damage them—and hurt your natural nails.
If your acrylic nails crack, it can be painful and even cause bleeding. They can feel hard and uncomfortable once they dry.
Maintaining acrylic nails can also be expensive. You’ll need regular salon visits to keep them looking good, as they grow out with your natural nails.
In the long run, acrylic nails can harm your nails. If you’re willing to risk it, just be aware of how to care for your nails and save money on repairs.



1 Comment
Pingback: French Nail Designs 2025: Elevate Your Manicure Game - Fashion Brand